Some years ago, for our family’s annual Thanksgiving dinner, pumpkin pie became my dish. I’m not exactly sure when it happened, but I’m sure I volunteered to make it. You see, I’m no dummy. I’ve learned that the easiest way to ensure that a favorite item winds up on our holiday menu is to put it there myself.
Last year I started experimenting with some new recipes for pumpkin pie. My original was a variation on the classic Libby’s recipe from the back of the pumpkin puree can. I can’t leave well enough alone, though, so I started playing around with the recipe. I tinkered with the crust and I finally got that right. For the past two weekends, I have been on a mission to improve on the filling.
The first pie I baked was okay, but the cooking method was a little off. The temperature was too low or the time was too short, or a combination of the two. Regardless, I wasn’t satisfied with the way the pie set up. And the spices were not quite right. The second pie was a little better, but I had to do some more adjusting of spices, and I used sour cream in the filling. I decided after that second pie that I’m not a fan of sour cream in my pumpkin pie filling. It makes it a little too creamy for my preference.
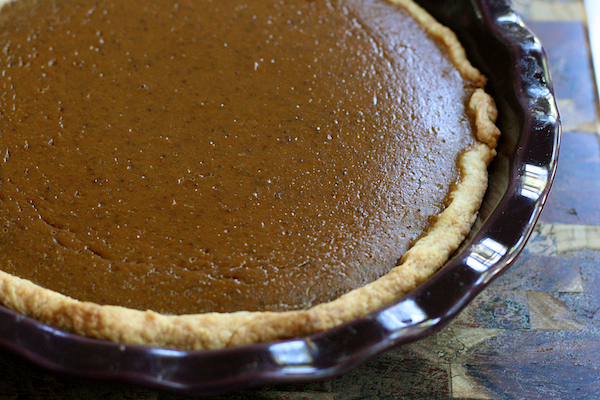
With the last pies, the cooking technique was perfect – a technique that the America’s Test Kitchen uses. Their technique is to warm the filling and add the warmed filling to the hot partially-baked pie crust. This method worked quite well for me and gives the pie a nice firm texture.
Unfortunately, with one of those last pies, I learned another valuable lesson. Adding sugar to the pie is pretty important. Don’t skip that step. Sugar free pie pretty much sucks. Although, if you give a taste to your adoring six year old daughter, she will tell you it’s the best pumpkin pie she has ever tasted, even though she will grimace the entire time she’s swallowing it.
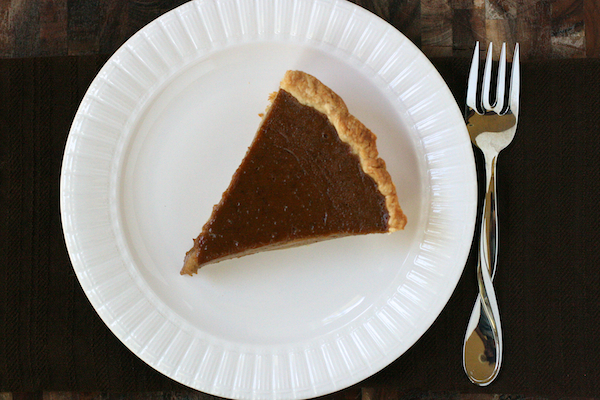
I’m done testing pumpkin pies for this year. I really like this version of the pie. It’s got a good combination of sweetness and spice, and I think the little bit of rum and vanilla add some depth that my previous pumpkin pie versions didn’t have. I’m not sure whether I’ve found pumpkin pie nirvana or whether I’m just exhausted from the two marathon pie baking weekends. And even though I never ate an entire piece of pie out of all of these pies, I found it was a little hard to be objective by the time the pie tasting was completed.
So, I asked my husband, what he thought when it was over. His answer? “I really like that old pumpkin pie you used to make.”
ARGH.
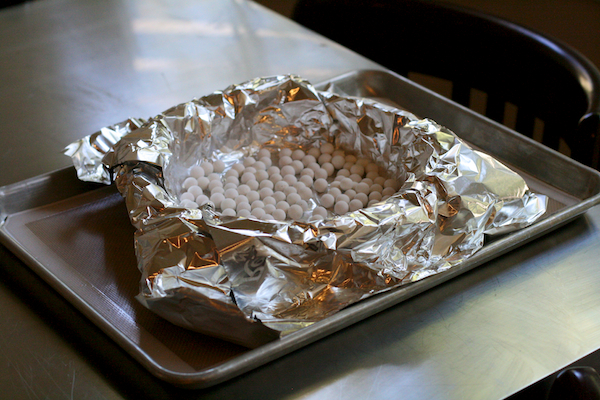
Adapted from The America's Test Kitchen Family Cookbook. Note: When blind-baking the pie crust, I use non-stick aluminum foil so that the foil doesn't tear the pie crust. You can use parchment paper if you prefer.
1 recipe all-butter pie crust dough, partially-baked and still hot
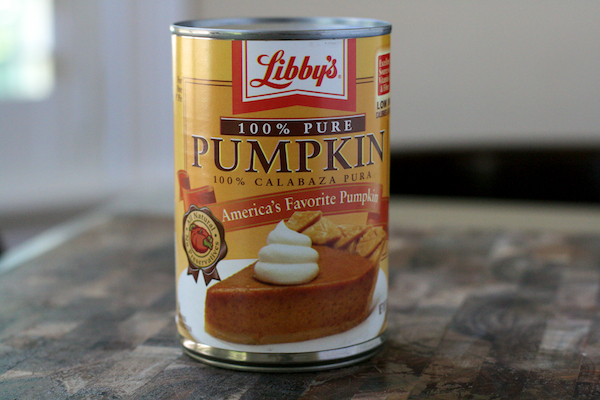
1 15-ounce can pumpkin puree (not pumpkin pie filling)
1 cup (packed) dark brown sugar
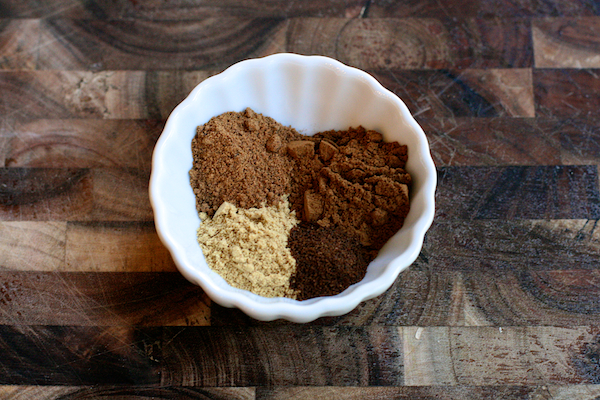
1 1/2 teaspoons ground ginger
1 1/2 teaspoons ground cinnamon
3/4 teaspoon ground nutmeg
1/4 teaspoon ground cloves
1/2 teaspoon kosher salt
2/3 cup heavy cream
2/3 cup whole milk
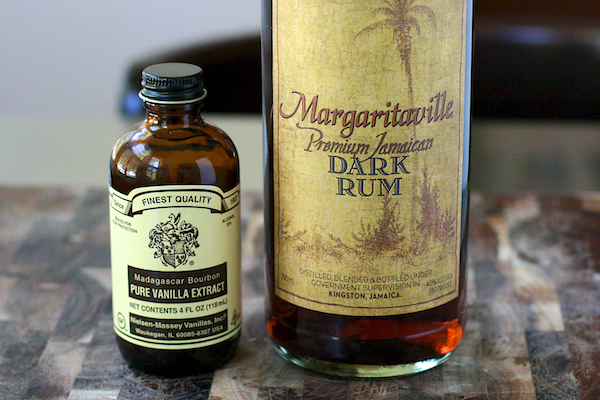
1 tablespoon dark rum
1 teaspoon vanilla extract
4 large eggs
Preparation of the Crust
Adjust oven rack to lower-middle position and preheat oven to 375 degrees.
Prebake ("Blind bake") the crust: Roll chilled dough into a 12-inch circle and fit it into a pie plate. Trim and fold the edges and freeze until firm, about 30 minutes, before baking. Remove from freezer, pierce the bottom of crust with the tines of a fork a few times, and line the chilled crust with aluminum foil, overlapping the edges of the crust with the foil (so the crust won't brown). Fill the foil with pie weights or dried beans. Spread the pie weights or beans evenly to the fill the edges of the foil. Place the pie plate on a cookie sheet lined with parchment paper or a Silpat and bake for 25 minutes.
After removing the partially-baked pie crust from oven, leave the oven rack at lower-middle position and increase oven temperature to 400 degrees. Crust should still be hot when filling is poured in.
Preparation of the Filling
While the crust bakes, in the bowl of a food processor, process the canned pumpkin puree, sugar, spices, and salt until combined, about 1 minute. Transfer the pumpkin mixture to a medium saucepan and bring to a simmer over medium high heat. Cook the pumpkin, stirring constantly, until thick and shiny, about 5 minutes. Whisk in the cream, milk, vanilla, and rum. Return to a simmer briefly then remove from heat.
Process the eggs in the food processor until uniform, about 5 seconds. With the machine running, slowly add half the hot pumpkin mixture through the feed tube. Stop the machine, add the remaining pumpkin, and continue to process the mixture until uniform, about 30 seconds longer.
Immediately pour the warm filling into the hot, partially-baked pie crust. Bake for about 25 minutes. The filling will be puffed and lightly cracked around the edges, and the center will jiggle slightly when the pan is tapped. Transfer to a wire rack and cool until warm or room temperature prior to serving.
For more information on baking pies:
Deb at Smitten Kitchen has a great post on rolling and crimping pie crusts.
Jen at My Kitchen Addiction has a recent post on making pie dough.