posted on July 2, 2010 by Merry-Jennifer
I was in a baking mood last weekend. A baking and sharing mood, actually. I made this almond cake and shared it with a good friend who just had her third baby. I also made these little buttermilk corn muffins, and I shared them with some neighbors who were moving a few blocks away. It seemed like a perfect packing-up-the-moving-truck kind of snack. Well, maybe not, but hey – I needed someone to share the muffins with.
To be perfectly honest, I just felt like baking and I happened to come up with two very good excuses to do so. I love passing on food to friends and family – it’s part of the joy of cooking.

Barb of VinoLuciStyle had a wonderful idea to create recipes from the RSVP section of Bon Appétit magazine and feature them in a blog post. After all, those recipes have no photos attached, and part of the fun of this is seeing how the finished dish turns out (and hopefully taking some fab photos!). Mardi of eat. live. travel. write. – you remember Mardi, right? She wrote this lovely post on macarons for me – posted her versions of the RSVP recipes earlier this week.
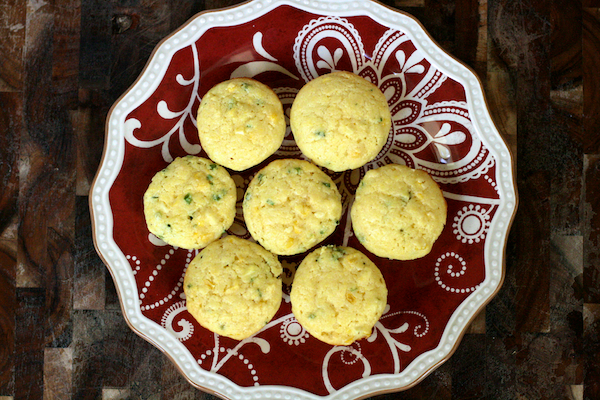
I love cornbread, so when I saw the recipe for mini buttermilk corn muffins in the RSVP section of the July issue, I immediately knew that this was the recipe I would make. And, thanks to my neighbors, I had the perfect excuse to make them.
The only real substitution I made was to use chives instead of dill in the muffins. I really am not a fan of dill. There. I said it. No dill for me.
The muffins were adorable, and tasty, too. Of course I kept a handful for our family – and if I’m going to be perfectly honest, I ate two myself. They were incredibly moist, with lovely bursts of sweetness from the corn kernels inside. Next time, to heck with the neighbors – I’ll keep the whole batch for myself.
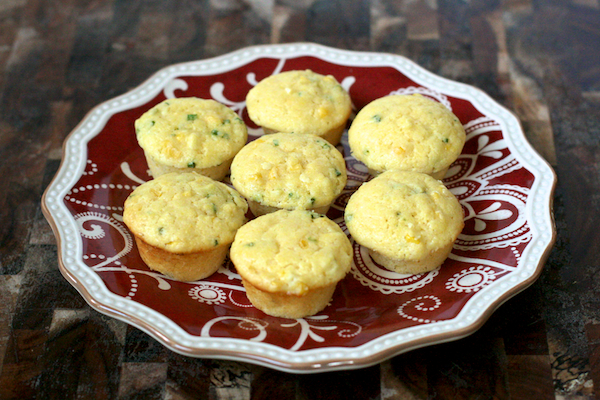
Mini Buttermilk Corn Muffins
Recipe slightly adapted from Bon Appétit, July 2010 issue, who adapted it from a recipe from Chino Farms in Rancho Santa Fe, California. Because I don't like dill, I substituted fresh chives instead. I also used light sour cream instead of full-fat.
Ingredients:
Nonstick vegetable oil spray
1/2 cup all purpose flour
3 tablespoons yellow cornmeal
3 tablespoons sugar
3/4 teaspoon baking powder
1/4 teaspoon (generous) kosher salt
1/4 cup sour cream
1/4 cup buttermilk
1 large egg
2 tablespoons (1/4 stick) unsalted butter, melted
1/4 cup fresh corn kernels (cut from 1 ear of corn)
1 tablespoon chopped fresh chives
Directions:
Preheat oven to 400 degrees F. Coat 16 mini muffin cups with nonstick spray.
Whisk flour, cornmeal, sugar, baking powder, and salt in medium bowl. Whisk sour cream, buttermilk, and egg in another medium bowl. Whisk in melted butter. Stir in dry ingredients. Add corn kernels and chives; fold just to incorporate. Divide among prepared muffin cups, about 1 generous tablespoon per cup.
Bake mini muffins until puffed and brown around edges, 13 to 15 minutes (tops will not brown). Cool slightly. Remove muffins from pan. Serve slightly warm or at room temperature.
posted on June 30, 2010 by Merry-Jennifer
Growing up, I assumed cakes were restricted to birthday celebrations. After all, that’s the only time I can recall my mom serving cake. Somewhere in my early childhood – perhaps when I was in elementary school – I went to a friend’s house and her mother baked a cake for no reason at all. She baked it JUST BECAUSE. I remember being shocked. I was stunned that a mom would bake a cake – and let us eat it! – when it wasn’t even her kid’s birthday.
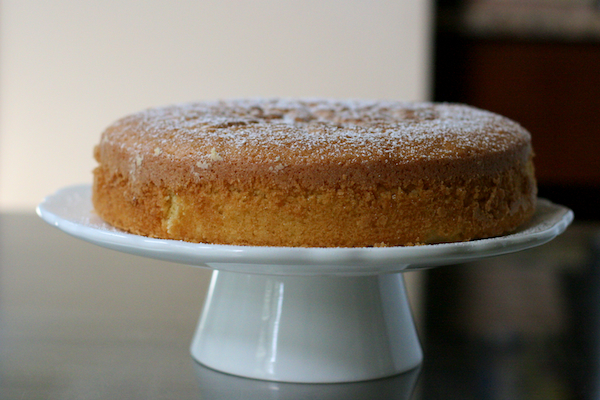
There is something so completely satisfying and comforting about a slice of cake. Perhaps because I didn’t indulge on a regular basis while I was growing up, cake holds a special place in my heart. Cake makes me happy.
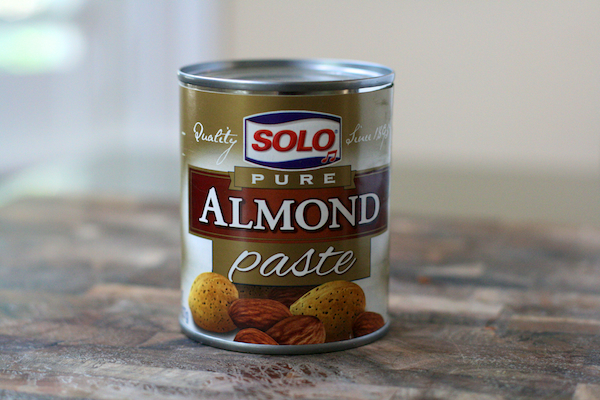
While having lunch one day last week, I saw a post by David Lebovitz on his recipe for almond cake, and I knew I had to make it. The almond cake looked so simple, yet so perfect. On impulse, I stopped at the grocery store on the way home from work to pick up a can of almond paste.
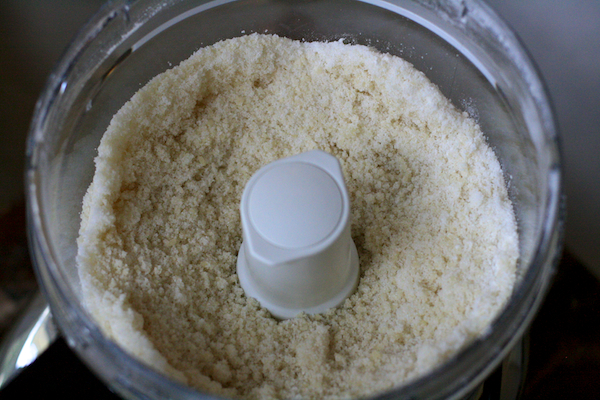
I followed David’s advice and used my food processor to break up the almond paste (it really does look like sand) and make the batter. Along with the vanilla and almond extracts, I added a bit of orange flower water to the cake batter as a flavor enhancer.
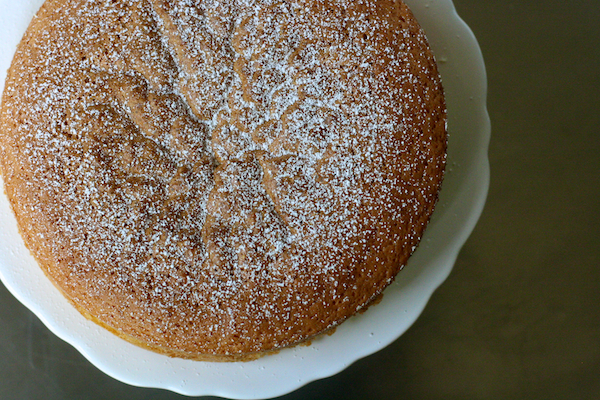
Because of the stickiness of the batter, I used a spring form pan to bake the cake in, but it’s really not necessary. If all you have is a regular cake pan, that will work just fine. Buttering and flouring the pan – and using the parchment paper round in the pan – is essential, though. At least it was for me. I’m a perfectionist by nature, and I really didn’t want to have an ugly cake bottom. Or top, for that matter.
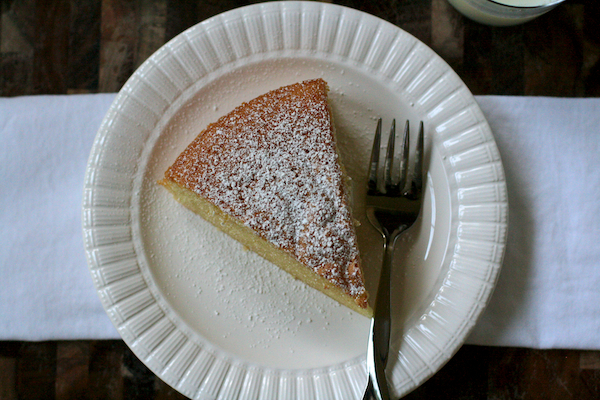
The cake was heavenly. The sweet aroma of almond filled the kitchen as it was baking and also when I cut slices of the cake. It was rich but not cloying. It reminded me of a very spongy and lush pound cake – but oh, so much better.
It was a perfect cake. And it made me happy.
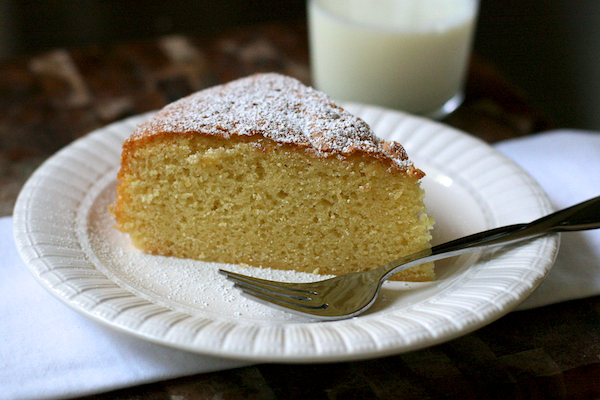
Almond Cake
This recipe is only slightly adapted from this one from David Lebovitz. I added a bit of orange flower water along with the extracts, but that's the only substantial modification I made. I used a spring form pan but you can use a 9- or 10-inch diameter cake pan instead.
Ingredients:
1 1/3 cup (265 g) sugar
8 ounces (227 g) almond paste
3/4 cup (105 g) plus 1/4 cup (35 g) all purpose flour
1 cup (2 sticks, 8 ounces) unsalted butter, cubed and at room temperature
1 1/2 teaspoons baking powder
3/4 teaspoon kosher salt
1 teaspoon vanilla extract
1 teaspoon almond extract
1/8 teaspoon orange flower water
6 large eggs, room temperature
Directions:
Preheat oven to 325 degrees F. Butter a 9-inch diameter spring form pan, dust with flour, and tap out any excess. Line the bottom of the pan with a round of parchment paper.
In a small bowl, whisk together 3/4 cup (105 g) flour, baking powder, and salt. Set aside.
In a food processor, pulse the sugar, almond paste, and 1/4 cup (35 g) flour until the almond paste is finely ground and the mixture resembles sand. Add the cubes of butter, the vanilla and almond extracts, and the orange flower water. Process until the batter is smooth and fluffy. Add the eggs, one at a time, processing a bit before the next addition, scraping down bowl as needed.
Add half of the flour mixture to the food processor bowl and pulse a few times. Transfer the batter to a large mixing bowl and add the remaining half of the flour mixture. Mix by hand until the dry ingredients are just incorporated. Do not overmix. Pour batter into prepared spring form pan and bake for 65 minutes, or until the top is deep brown and feels set when you press in the center.
Remove cake from oven and run a sharp serrated knife around the perimeter, loosening the cake from the sides of the pan. Let the cake cool completely in pan; once cool, remove sides of spring form pan and invert cake onto rack. Remove bottom of spring form pan and parchment paper from the cake. Carefully turn cake back over and onto a cake plate for serving.
posted on June 27, 2010 by Merry-Jennifer
While many people aren’t fans of casseroles, I happen to love them. I grew up with casseroles of various sorts – tuna noodle being the most famous of them all – and for me, they represent the ideal comfort food. If you can get the main components of a meal – protein, vegetable, starch – in one dish, I’m all for it. Especially if the kids will eat it.
While searching for casseroles that my picky son might go for, I ran across several recipes for tamale pie. Elise at Simply Recipes has one using ground beef, and I found this one at Serious Eats using shredded pork shoulder. Ultimately, I happened upon this one from a 1990 issue of Gourmet magazine, and that’s the one the recipe below is adapted from.
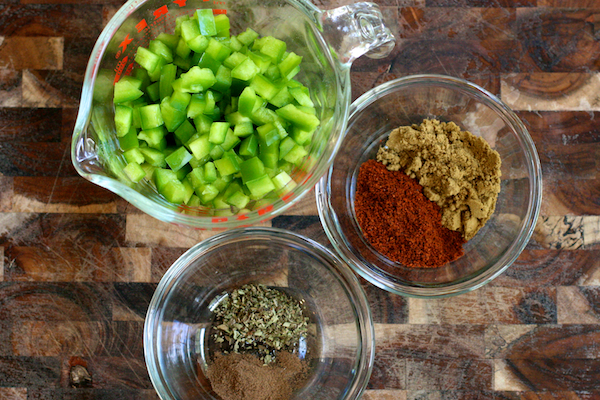
There is a great mix of spices in this recipe – cumin, allspice, chili powder, and oregano. Hot sauce gives it an extra kick, and this can be tailored to suit your palate. I used only 1 teaspoon since I was trying to make it a bit more kid-friendly. To make it more filling, I added a can of kidney beans, but you could easily add a different kind of beans or leave them out entirely. My son loves beans, so I thought this would be a great way to sell him on the dish.

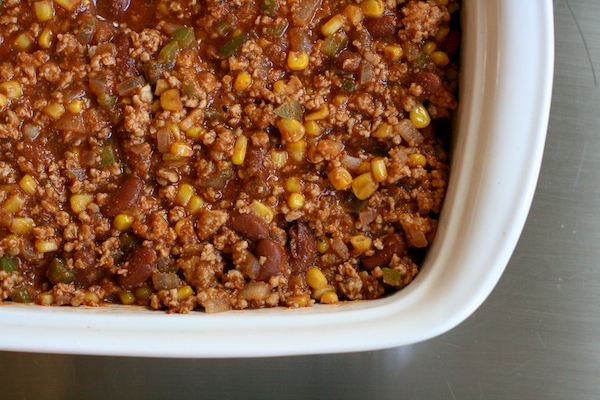
The aromas that filled the house as this was baking were heavenly. The dish is probably one suited better to cold weather, but I can’t be faulted for liking this kind of comfort food year round. Offer me a steaming bowl of chili in August, and I’ll quickly take you up on it.
But I promise I don’t wear white shoes after Labor Day.
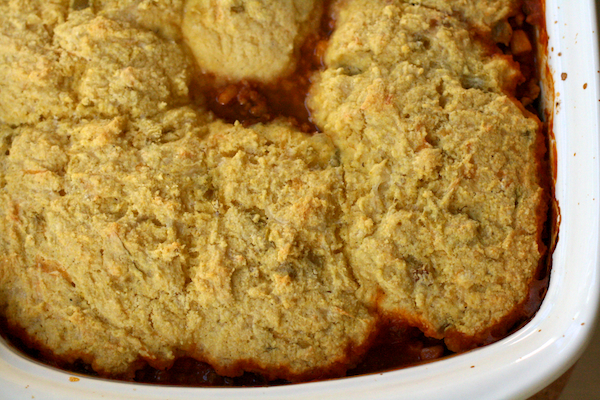
The tamale pie was full of flavor, and although my husband complained that there wasn’t enough heat in it, he had two servings. My daughter also had two servings, and she happily ate the leftovers the following night.
My son? Wouldn’t touch it.
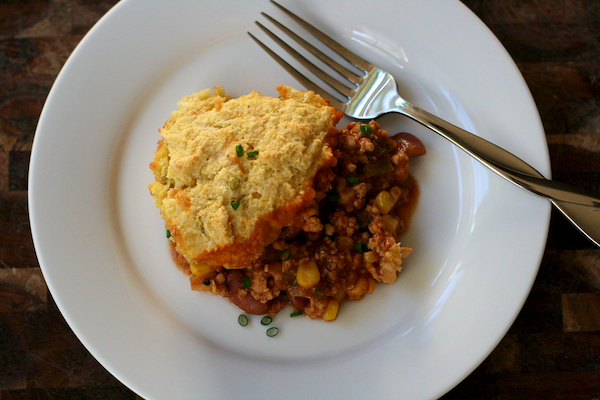
Pork Tamale Pie
The cornbread topping is very easy to make, but if you wanted to substitute a box mix (like Jiffy), I'm sure that would work just fine, too.
Ingredients:
Ingredients for Filling
1 cup chopped onion
1 cup chopped green bell pepper
2 tablespoons vegetable oil
1 1/2 pounds lean ground pork
1 1/2 cans (15-ounce each) tomato sauce
2 tablespoons tomato paste
10 ounce package frozen corn, thawed
1 15-ounce can kidney beans, rinsed and drained
1 tablespoon ground cumin
1/2 teaspoon ground allspice
2 teaspoons chili powder
1/2 teaspoon dried oregano
1 tablespoon Worsterschire sauce
1 teaspoon hot sauce (such as Tabasco), plus more to taste
Kosher salt
Ground black pepper
1 teaspoon cider vinegar
Ingredients for Topping
1 cup all-purpose flour
1 cup yellow cornmeal
3 tablespoons sugar
2 tablespoons baking powder
3 tablespoons unsalted butter, melted and cooled
3/4 cup milk
1 large egg, lightly beaten
1/2 cup grated Monterey Jack cheese
1 4-ounce can green chili peppers, drained and chopped
Directions:
Preheat oven to 400 degrees F.
Make the pork filling: In a large skillet, cook the onion and bell pepper in the vegetable oil over moderately low heat, stirring, until onion is softened. Add the pork and break up any large pieces. Cook over moderate heat, stirring frequently, until the pork is no longer pink. Stir in the tomato sauce, tomato paste, corn, beans, cumin, allspice, chili powder, oregano, Worcestershire sauce, hot sauce, cornmeal, and salt and black pepper to taste. Simmer the mixture, stirring occasionally, for 30 minutes. At the end of the simmering time, add the teaspoon of cider vinegar. Taste the mixture and add additional hot sauce to suit your taste. Pour the mixture into a shallow 2 1/2 quart casserole dish. Note: This step may be done up to one day earlier and kept covered and chilled.
Make the topping: Into a bowl, sift together the flour, corn meal, sugar, and baking powder. Add the melted butter, milk, and the egg, and stir until just combined. Stir in the cheese and the chopped green chili peppers. Drop the batter by large spoonfuls around the edge of the casserole.
Bake the casserole in the middle of a 400 degree oven for 10 minutes. Turn oven down to 350 degrees and bake for additional 30 minutes.


 Print
Print


