posted on September 13, 2010 by Merry-Jennifer
September has blown in like the winds of a hurricane, gusting and squalling, with the eye of the storm not yet in sight. I was gone for the first two weekends of the month, and while I’m not complaining, it really was a lot all at once. Madeline started first grade, and with first grade came her first experience with homework. Which means…OUR first experience helping her with homework. Swim practice for both kids – twice a week – started in the midst of all of this chaos, as did our beloved college football season with home games most of these first Saturdays in September.
So, really, it’s all good stuff. Seriously.
But, the icing on the cake — the bitter icing, the rancid buttercream frosting that you just DON’T want to eat – is that we lost our afternoon babysitter. Now, maybe I’m putting too much emphasis on how much help she was, but I don’t really think so. She was a huge help to me. And I miss her. Dearly.

But we’re working through it. I’m working through it. So, in the spirit of finding simplicity again, and in trying to center myself, I’ve made a very simple recipe. Yes, friends, I’ve made honey mustard. Never thought honey mustard could be soothing, could you? Well, it is. I promise. The simple acts of chopping sweet Vidalia onions into perfect slices, stirring those slices slowly in the pan, swirling the whole melting mess together with the honey – these are the things I needed.

Honey Mustard
This recipe is only just tweaked from the recipe in Barbara Lynch's Stir: Mixing It Up in the Italian Tradition . The recipe makes about 3/4 cup of honey mustard. Because I live in the south, we are surrounded by sweet Vidalia onions, so I used a Vidalia as the main onion in this recipe.
Ingredients:
2 tablespoons extra virgin olive oil
1 large Vidalia onion, thinly sliced
3 tablespoons honey
3 tablespoons Dijon mustard (I used Grey Poupon)
Kosher salt
Freshly ground black pepper
Directions:
Heat the olive oil in a medium skillet over low heat. Add the onion and cook, stirring occasionally, until onion is very tender, about 20 minutes. Add the honey and mustard and cook, stirring occasionally, for another 5 minutes. If the mixture begins to stick to the pan before the onion is fully cooked, you can add up to 1/4 cup water. [Note: I did not need to add any water to mine.] Let cool a bit and then transfer to a blender or food processor and puree until smooth. Season to taste with salt and pepper.
posted on September 10, 2010 by Merry-Jennifer
Over Labor Day weekend, my six-year old daughter, Madeline, and I boarded a flight out of our town’s little regional airport and traveled to Louisville, Kentucky. We were headed to Louisville to attend the wedding of my younger cousin, Alyson. This was the second trip Madeline had taken on an airplane – the first was when she was two and a half – so she was very excited. My daughter was was also thrilled to be attending her first wedding ever, because to her, weddings are all about the Disney fairytale – the flowing white dress, a beautiful princess, a handsome prince, and lots of dancing.
The wedding was a gorgeous event, held in a beautiful Catholic church in downtown Louisville. Other than the fact that I failed to pack any snacks for my daughter for the long wedding ceremony, and that I mistakenly gave Madeline a heart-shaped bath salt to eat during the service (thinking it was a mint), we had a really lovely time.
But let’s talk about food, shall we? This is a food blog, after all.
Saturday morning, before the wedding, a group of us went to a relatively famous Louisville restaurant – Lynn’s Paradise Cafe for breakfast. Lynn’s Paradise Cafe is an eclectic restaurant, and the shiny sequined sign outside immediately gives that impression.

When you walk in the front door, you’re in a retail shop, filled with lamps and greeting cards and books and other knick knacks. It’s sort of overwhelming, but fun to browse. My mom and I both had our cameras, and both of us wanted to wander and take photographs rather than sit still at the table. I really wanted to be in the restaurant when it was empty, just so I could look around with no people to distract me – there were so many things hanging from the ceilings and walls to look at.


The lamp you see below is made entirely of used tea bags. Used tea bags! Crazy, right? But you know, I kind of want one now. I think it would look pretty good in my foyer. I’m just not sure I can drink that much tea in time to make one before I have grandchildren of my own, though.

There IS more to this restaurant than just the decor, although the decor takes top billing at first glance. The breakfast portions are huge. I ordered the wild mushroom scramble – eggs scrambled with Portobello and button mushrooms, baby spinach, and white cheddar, and served with a horseradish dill sour cream. For sides, I ordered the cheese grits (because I cannot resist grits) and the buttermilk biscuit.

I will admit that the wild mushroom scramble is not pretty to look at. It is not photogenic. But it was damn tasty. The horseradish dill sour cream had great flavor and really complemented the eggs and mushrooms. The cheese grits were just okay. I love my grits plain, so I don’t hold it against the grits. I hold it against the cheddar cheese, which I’m just not a fan of. The buttermilk biscuit? Oh, my. I’m in love with that biscuit. My dad thought it was too messy, and I agree that it was. This is a biscuit that you eat with a fork or break up into pieces, but I’m good with that.

If you ever find yourself in Louisville, Kentucky, you should really go to Lynn’s Paradise Cafe. Like all good Kentucky establishments, they serve bourbon, and you can even get a mint julep. Browse for a bit in the shop, look up at the very cool tea bag lamp, eat a buttermilk biscuit. You’ll be glad you did.

And wait. What’s this? That’s not food.
This, my friends, is a cave. I thought I’d end with this photo because this was part of what made my trip so special. In the photo is my 75 year old dad with my 6 year old daughter. My dad, my mom, my daughter, and I spent a lot of time driving around Louisville, listening to my dad’s stories of growing up in Louisville back when he was a kid.
This cave is in Cave Hill Cemetery, where my dad’s mother and father are buried. Seeing two of the most special people in my life, my dad and my daughter, checking out this cave – I loved that. It was just a moment in time, but I’m glad I got it on camera.
posted on September 2, 2010 by Merry-Jennifer
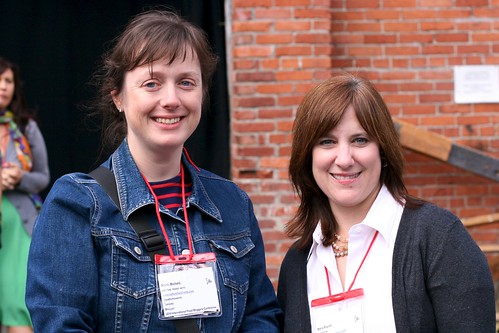
So, you’ve figured out by now that I had a pretty spectacular time at the International Food Blogger Conference (IFBC) in Seattle last weekend. There are great posts about the IFBC all over the internet – like this one by Kate, this one by Mardi, this one by Maria, this one by Marie, this one by Linda, this one by Jen, this one by Kelly, this one by Stephanie, and these two by Dianne – and I’m certain there are others that I’ve missed.
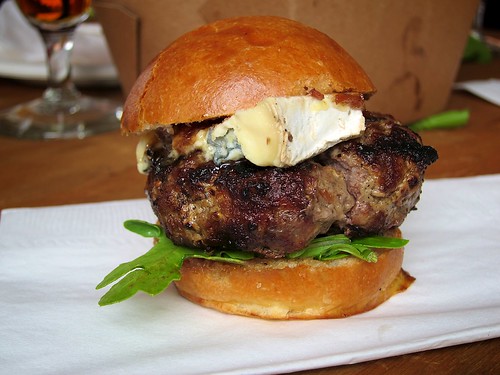
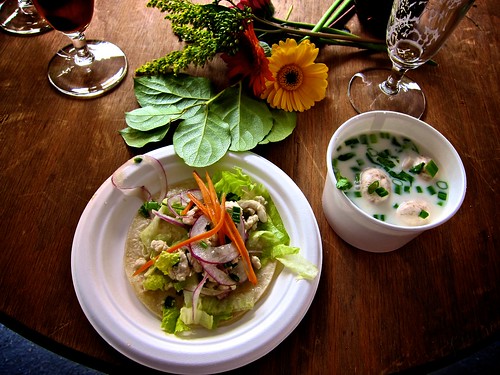
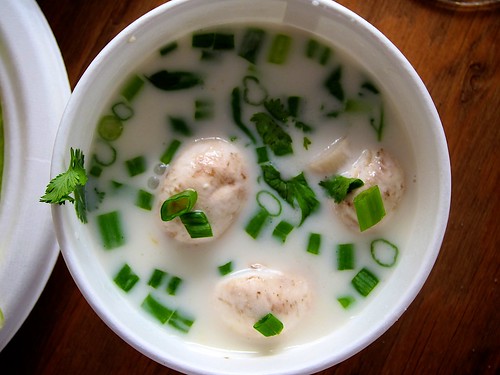
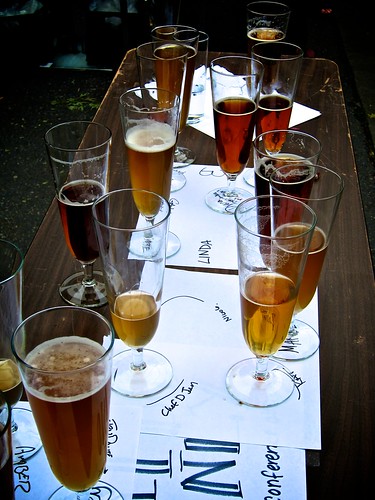
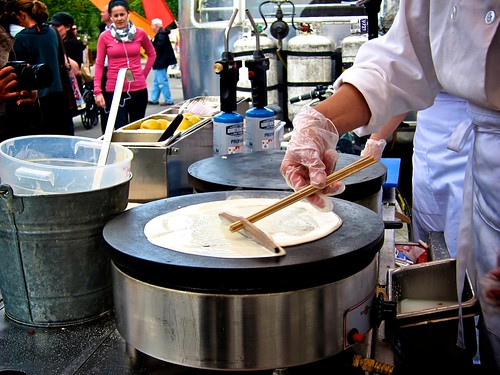
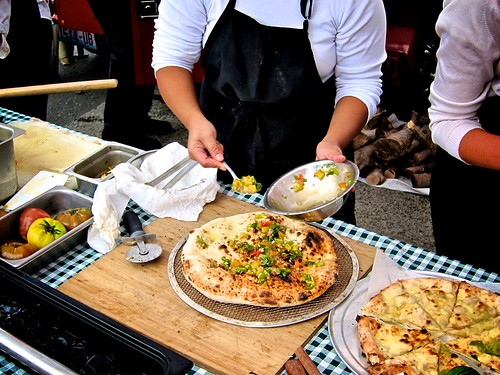
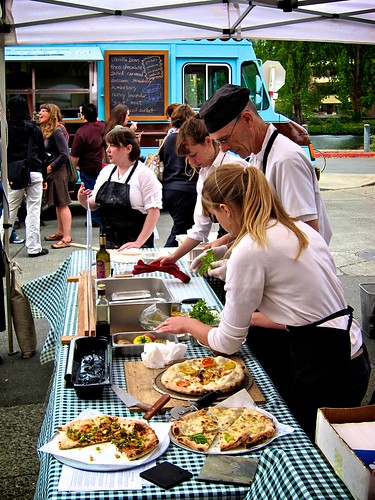
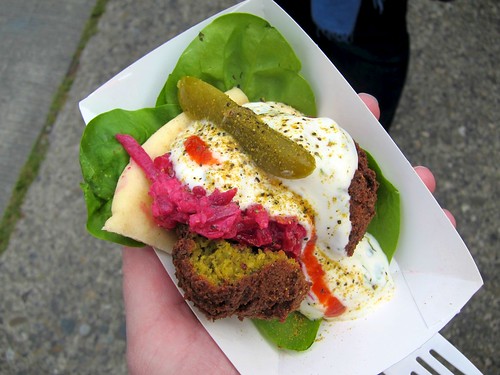
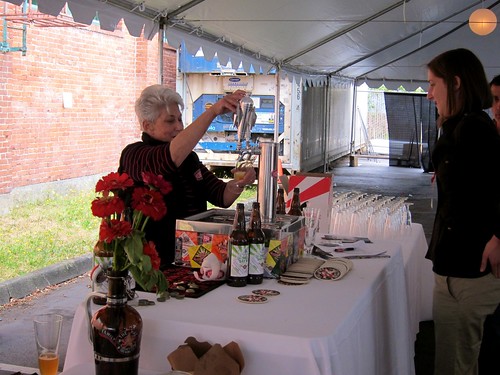
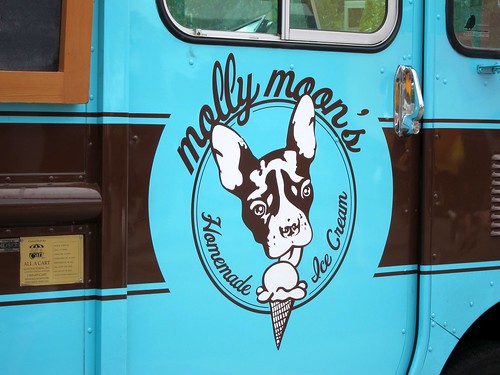
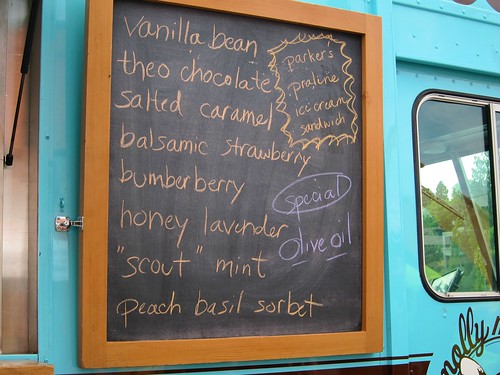
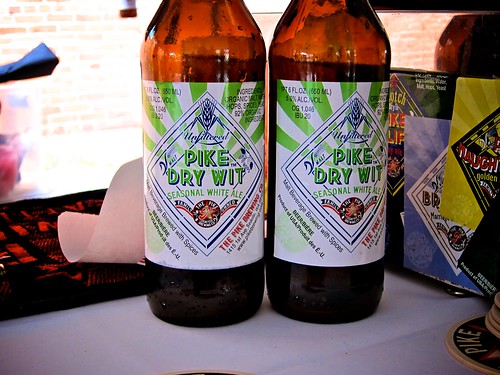
All I really want to do here is give you a little visual sample of the lunch we had on Sunday, the best of the two lunches we were served at the conference. Sunday lunch was the food truck lunch, the day the organizers brought in some of the local Seattle food trucks to provide samples of their specialties.
I was pretty excited about this lunch because, other than a single hot dog from New Orleans-based Lucky Dogs – eaten way back in the early 1990s when Florida played Notre Dame in the Sugar Bowl – I’ve never eaten from a food truck or food cart. And, according to my good friend, Rob, who happens to be the person who knows the most about restaurants in my hometown of Gainesville, there really aren’t any true food trucks around here. A couple of hot dog stands, but that’s it. Nothing like what Brett – a really neat guy I met at IFBC – has access to in Portland, Oregon.
So, let’s just get to the photos, shall we? Feel free to click through the photo to my Flickr page to get a bit more information about what you’re seeing in each one.


And, if you know of any other great IFBC posts out there, please leave them in the comments for me. I’d love to read them all!
 Print
Print


